Free shipping sitewide!* View Details
Free shipping sitewide!* View Details
Search products, categories...
Chevy Fender Flares
Shop By Vehicle
The Make is not valid for your current vehicle.
The Model is not valid for your current vehicle.
The Year is not valid for your current vehicle.
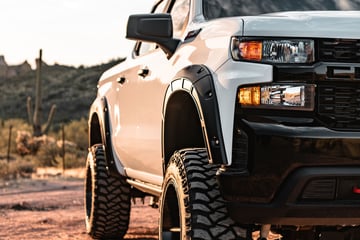
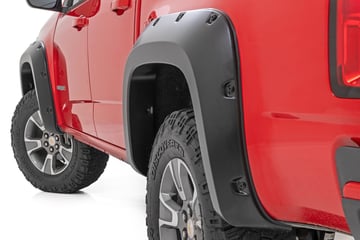
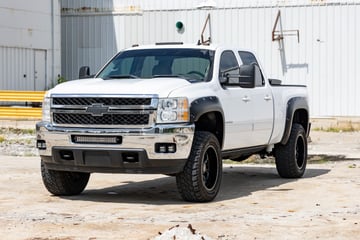
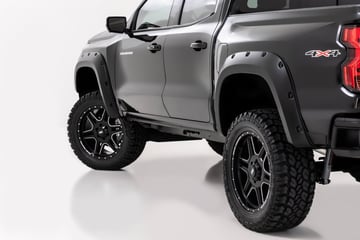
Fender Flares


Defender Fender Flares
832 reviews
Starting at
Inner Fender Trim Panel
63 reviews

Mud Flap Delete
257 reviews
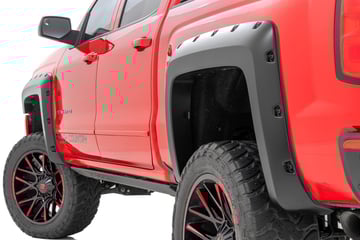
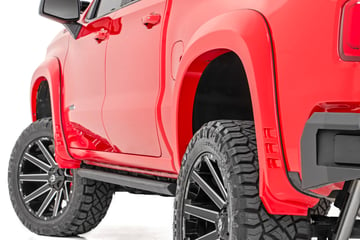
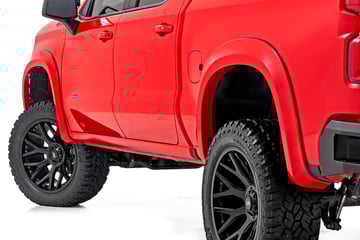
Pocket Fender Flares
2099 reviews
Starting at
Pocket Fender Flares
2099 reviews

Starting at
Pocket Fender Flares
2099 reviews
Starting at
Pocket Fender Flares
2099 reviews
Starting at
Pocket Fender Flares
2099 reviews
Starting at
Pocket Fender Flares
2099 reviews

Starting at
Pocket Fender Flares
832 reviews
Starting at
Pocket Fender Flares
2099 reviews
Starting at
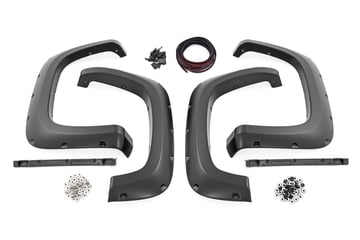
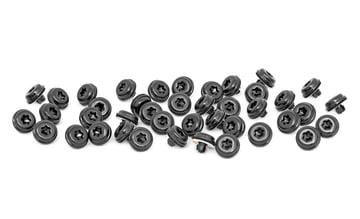
Rivet Kit for Fender Flares
41 reviews

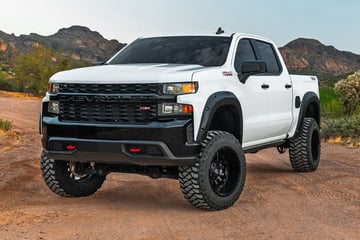
SF1 Fender Flares
832 reviews
Starting at
Sport Fender Flares
832 reviews
Starting at
Sport Fender Flares
832 reviews

Starting at
FAQs
What are Fender Flares?
Fender flares are extensions that mount over your wheel wells.
They add tire coverage to protect your paint from mud, rocks, and road debris.
They're essential if you run oversized tires or live in a state with tire coverage laws.
How do I choose the right fender flares?
It depends on your build, your tire size, and how much coverage you need—plus how aggressive you want it to look.
OE/Street Style: Subtle and close to factory look.
Pocket/Bolt-On Style: Bold, rugged, with exposed hardware.
Extended or High-Clearance: Wider coverage for bigger tires and lifted setups.
Rough Country offers styles like Riveted Pocket, Defender Pocket, SF1, WF1, Sport, and High-Clearance with LED options.
Can I paint my fender flares to match my vehicle?
Can I paint my fender flares to match my vehicle?
Yes—Rough Country flares come ready to paint.
Just clean them thoroughly and use a primer and paint made for ABS plastic.
You can also keep them matte black for a clean, aggressive look.
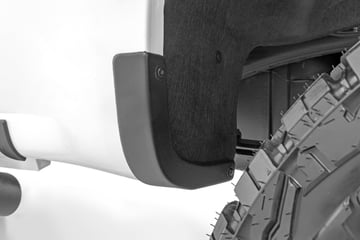
Do your fender flares require drilling for installation?
Most Rough Country fender flares feature a no-drill installation that uses factory mounting points, while some models may require minor drilling for enhanced stability depending on the vehicle.
What materials are Rough Country fender flares made from?
Rough Country fender flares are constructed from durable, UV-protected ABS plastic that resists cracking, fading, and impact damage, providing long-lasting performance on and off the trail.
Do your fender flares provide additional tire coverage for lifted vehicles?
Yes. Many Rough Country fender flares are designed to offer extra tire coverage, helping to protect your vehicle’s paint and body from debris while complementing lifted or wider tire setups.
